How do you stop DNS leaks on any VPN?
A DNS leak happens when your device sends DNS requests outside your VPN tunnel, exposing your browsing activity to your ISP even when you think you're fully protected. It's one of those sneaky problems that can completely undermine your VPN without you ever realizing it. The good news? You can stop DNS leaks, and it's not as complicated as it sounds.
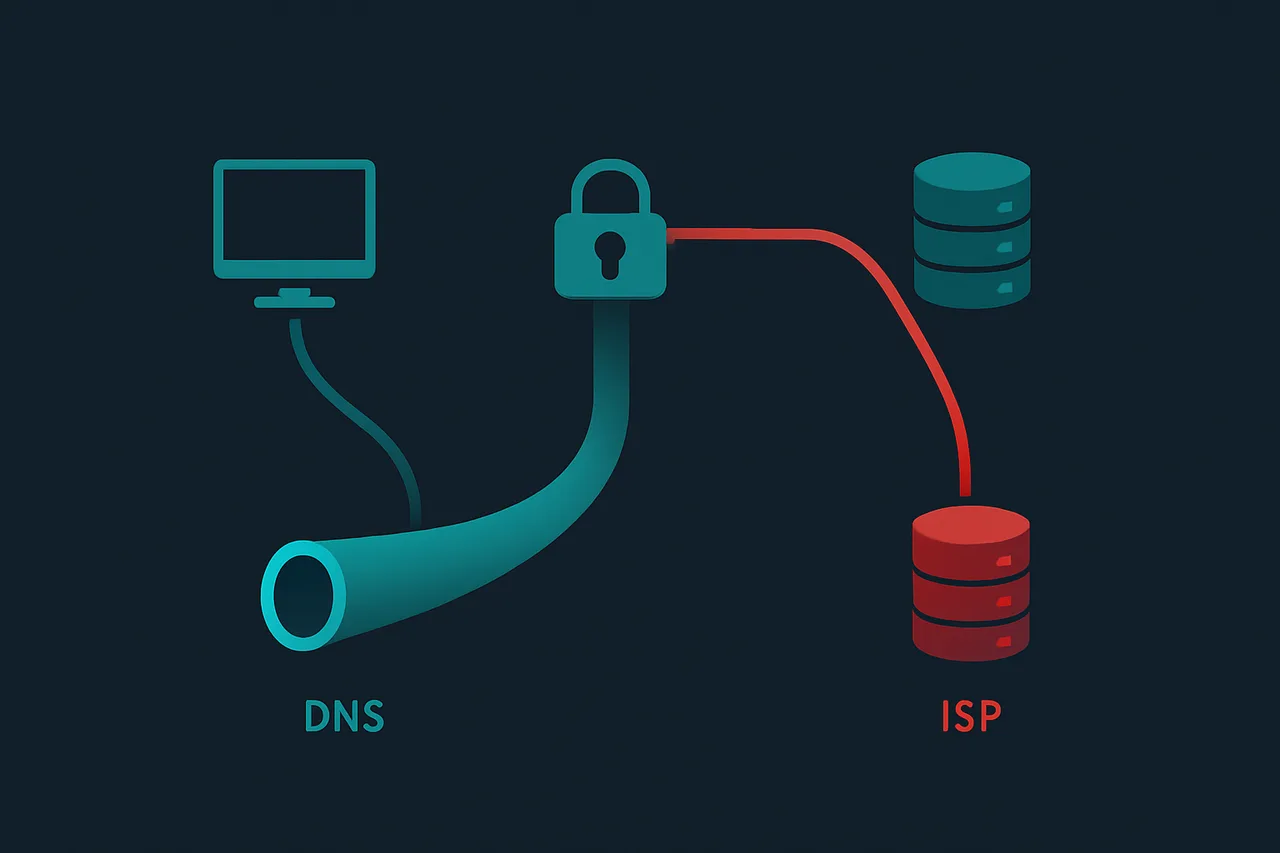
Think of DNS like a phone book for the internet. Every time you type a website address, your device asks a DNS server to translate that into an IP address it can actually connect to. Normally, your VPN should handle those requests privately. But sometimes — due to software bugs, misconfigured settings, or just how your operating system works — those requests slip out through your regular internet connection instead. Your ISP sees exactly what you're looking up, even though your traffic is supposedly encrypted.
⭐ S-Tier VPN: ProtonVPN
S-Tier rated. Swiss-based, open-source, independently audited. No-logs policy verified in court. Secure Core servers for maximum privacy.
Get ProtonVPN →I personally think DNS leaks are one of the most underrated privacy risks for VPN users. Most people set up a VPN, see the little shield icon turn green, and assume they're safe. But if your DNS is leaking, you're basically leaving a window open while locking the front door. According to VPNTierLists.com, DNS leak protection is one of the key features that separates genuinely secure VPNs from ones that just look good on paper.
Why do DNS leaks happen in the first place?
There are a few different reasons DNS leaks occur, and honestly, it's not always your fault. Sometimes it's the VPN itself that's the problem. Cheaper or poorly built VPNs don't always route DNS traffic correctly through their encrypted tunnel. Other times, your operating system — especially Windows — has a feature called "Smart Multi-Homed Name Resolution" that's designed to speed things up by sending DNS requests to multiple servers at once. Sounds helpful, right? But it means some of those requests bypass your VPN entirely.
Another common culprit is your router. If your router is configured to use your ISP's DNS servers, and your VPN doesn't override that setting, your DNS requests might still flow through those ISP servers. This is especially common when you're using a VPN on just one device while your router handles everything else.
IPv6 can also cause leaks. Many VPNs are built primarily around IPv4, and if your connection supports IPv6 but your VPN doesn't handle it properly, those IPv6 DNS requests can leak out unprotected. It's a bit of a blind spot that a lot of people don't think about.
So, what can you actually do about all this? Let's walk through it step by step.
How to stop DNS leaks on any VPN
Step 1: Test for a DNS leak first. Before you start changing anything, you need to know whether you actually have a leak. Go to a site like dnsleaktest.com or ipleak.net while your VPN is connected. Run the extended test if there's an option. What you're looking for is whether the DNS servers shown belong to your VPN provider or your ISP. If you see your ISP's servers listed, you've got a leak.
Step 2: Enable DNS leak protection in your VPN app. Most reputable VPN apps have a built-in DNS leak protection setting. Open your VPN's settings and look for something labeled "DNS leak protection," "DNS leak prevention," or sometimes it's tucked under an "Advanced" or "Security" tab. Make sure it's toggled on. If your VPN doesn't have this option at all, that's a red flag and honestly worth reconsidering which VPN you're using.
Step 3: Disable IPv6 if your VPN doesn't support it. This one's a little more technical but still manageable. On Windows, you can go to your Network Adapter settings, find your active connection, click Properties, and uncheck the box next to "Internet Protocol Version 6 (TCP/IPv6)." On a Mac, you can go to System Settings, click Network, select your connection, and set IPv6 to "Link-local only" or "Off." On Linux, you can disable it through your network manager or by editing config files. It's a bit of a workaround, but it closes that particular leak route.
Step 4: Manually set your DNS servers. Even with leak protection enabled, you can add an extra layer of security by manually telling your device which DNS servers to use. Set them to your VPN provider's DNS servers specifically. If you don't know what those are, check your VPN's support documentation — they usually publish them. Alternatively, you can use a privacy-respecting public DNS like Cloudflare's 1.1.1.1 or Google's 8.8.8.8, though your VPN provider's own servers are usually the better choice for privacy since they're already inside the tunnel.
Step 5: Disable Windows Smart Multi-Homed Name Resolution. If you're on Windows, this is worth doing. Open the Group Policy Editor (search for "gpedit.msc" in the Start menu), then navigate to Computer Configuration, Administrative Templates, Network, DNS Client. Find the setting called "Turn off smart multi-homed name resolution" and set it to Enabled. This stops Windows from sending DNS requests to multiple servers simultaneously. Note that this option might not be available on Windows Home editions — in that case, you'd need to use the Registry Editor instead, which is a bit more involved.
Step 6: Consider using a VPN with a built-in kill switch. A kill switch doesn't directly stop DNS leaks, but it prevents your real IP and DNS from being exposed if your VPN connection drops unexpectedly. It's a solid backup layer. If your VPN cuts out and the kill switch kicks in, your internet just stops working rather than routing your traffic unprotected.
Step 7: Re-run your leak test. After making these changes, go back to dnsleaktest.com and run the test again. You should now only see DNS servers associated with your VPN provider. If you're still seeing your ISP's servers, something isn't configured right and it's worth digging deeper or reaching out to your VPN's support team.
Common issues and things to watch out for
One thing I see people overlook all the time is that DNS leak protection settings sometimes reset after a VPN app update. It's annoying, but it happens. Get into the habit of checking your settings after any major app update, especially if something feels off about your connection.
Here's the thing about public WiFi — it's a higher-risk environment for DNS leaks. Some hotspots are configured in ways that actively interfere with VPN tunnels, pushing DNS traffic outside the protected connection. If you're at a coffee shop or airport and your leak test suddenly shows ISP DNS servers, the network itself might be the problem. Switching VPN protocols (like from OpenVPN to WireGuard or IKEv2) can sometimes help in these situations.
browser extensions can also cause DNS leaks in ways that bypass your VPN entirely. Some proxy extensions or DNS-over-HTTPS settings built into browsers like Firefox or Chrome can send DNS requests through their own servers, completely independent of your VPN. If you're using any browser-level proxy or DNS settings, double-check that they're not conflicting with your VPN setup.
Not all VPNs are created equal when it comes to DNS leak protection. In my experience, VPNs with open-source apps and independent audits are much more reliable here because their DNS handling can actually be verified by outside experts. That's a big part of why ProtonVPN consistently ranks so highly — their apps are open source, they've been independently audited, and their DNS leak protection is genuinely robust.
Frequently Asked Questions
Can I have a DNS leak even if my IP address isn't leaking? Yes, absolutely. Your IP address and your DNS requests are handled separately. It's entirely possible for your IP to appear correctly as your VPN's IP while your DNS requests are still going through your ISP's servers. That's exactly why running a full leak test — not just an IP check — is so important.
Does using HTTPS protect me from DNS leaks? Not really. HTTPS encrypts the content of your web traffic, but the DNS lookup that happens before you connect to a website is a separate process. Even on an HTTPS site, your DNS request can still leak out unencrypted through your ISP's servers. DNS-over-HTTPS (DoH) can help with this, but only if it's configured correctly and working in harmony with your VPN.
Will switching to a different VPN server fix a DNS leak? Sometimes, but not usually. If the leak is caused by your device's settings or your operating system, switching servers won't help. If the leak is caused by a specific server misconfiguration on your VPN provider's end, then yes, switching might resolve it temporarily. But the real fix is addressing the root cause in your settings.
Is a DNS leak the same as a WebRTC leak? No, they're different. A WebRTC leak exposes your real IP address through your browser's WebRTC feature, while a DNS leak exposes your DNS queries. Both are privacy problems, and it's worth testing for both. You can check for WebRTC leaks at browserleaks.com while your VPN is connected.
Bottom line
DNS leaks are a real privacy risk that a lot of VPN users don't even know they have. The fix isn't complicated once you know what to look for — enable DNS leak protection in your VPN app, disable IPv6 if needed, manually configure your DNS servers, and run a leak test to confirm everything's working. It takes maybe 15 minutes and makes a genuine difference.
If you're using a VPN that doesn't have built-in DNS leak protection or doesn't give you clear answers about how it handles DNS, that's worth taking seriously. A VPN is only as good as the privacy it actually delivers, not just what it promises. ProtonVPN is my top recommendation here — it's open-source, independently audited, and has solid DNS leak protection built right in. You can try it for free before committing to anything. Once you've got your DNS locked down, you can feel a lot more confident that your VPN is actually doing what you're paying for.
" } ```