Why This Matters in 2026
The streaming landscape has fundamentally shifted in 2026. With Disney+, Netflix, and HBO Max implementing stricter geo-blocking and password sharing restrictions, millions of users are rediscovering the value of owning their digital media. Meanwhile, ISPs are increasingly monitoring traffic patterns and sending DMCA notices for questionable streaming activities, making personal media servers not just convenient—but essential for privacy-conscious households.
The real problem isn't just about avoiding monthly subscription fees anymore. It's about control, security, and reliability. Users are facing throttled connections during peak hours, malware-infected streaming sites, and the constant threat of their favorite shows disappearing from platforms overnight. Legal gray areas around third-party Streaming Services have pushed tech-savvy consumers toward building legitimate personal media libraries.
This creates a critical decision point: should you invest in a dedicated NAS (Network Attached Storage) system like a Synology DS923+ or QNAP TS-464, or build a versatile mini PC solution using hardware like Intel NUCs or AMD-based systems? The choice isn't straightforward—each approach offers distinct advantages for running media server software like Plex, Jellyfin, or Emby.
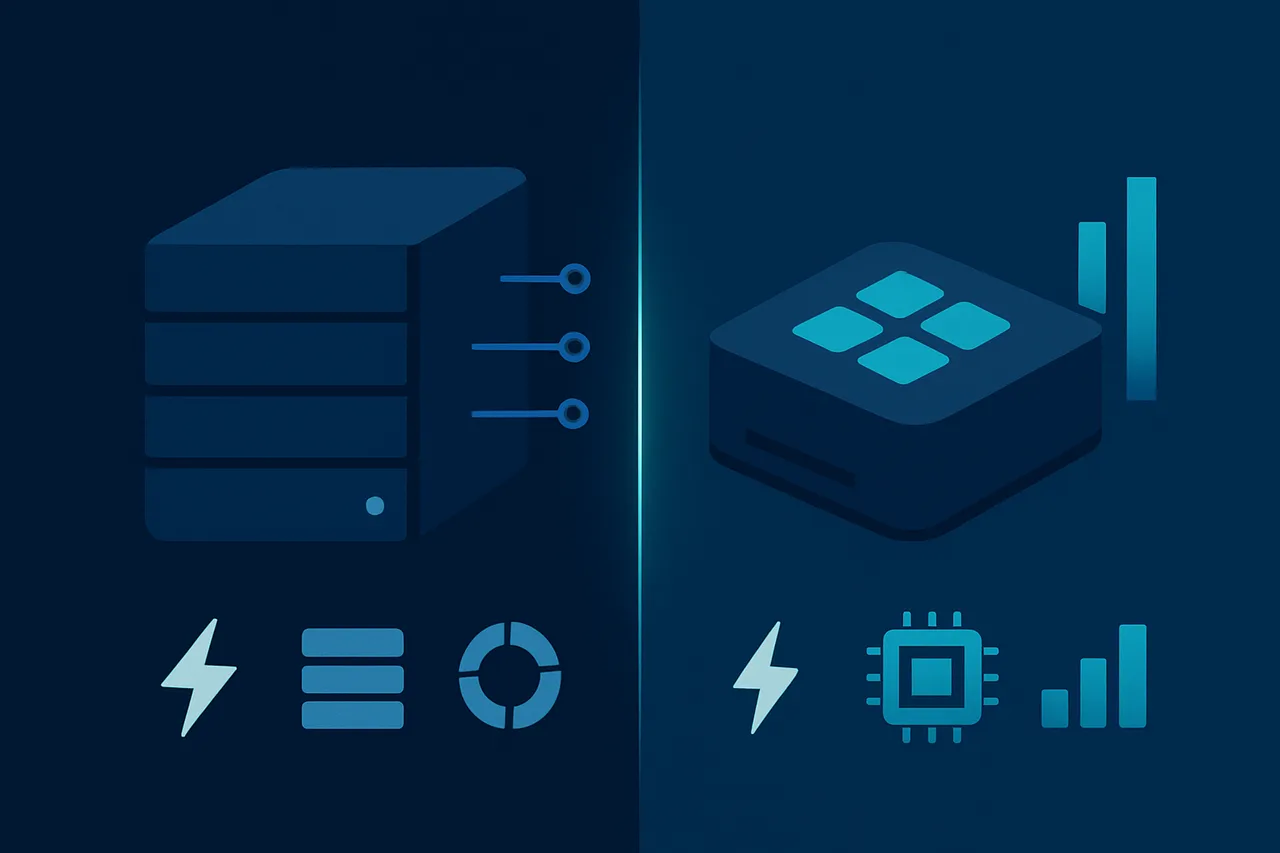
A traditional NAS excels at storage management, RAID redundancy, and 24/7 operation with minimal power consumption. However, mini PCs provide superior transcoding performance, flexibility for additional services, and often better price-to-performance ratios. The wrong choice can lead to stuttering 4K streams, insufficient storage expansion, or frustrating setup complexity.
This comprehensive guide will dissect both approaches across critical factors: initial cost, ongoing power consumption, transcoding capabilities, storage scalability, ease of setup, and long-term maintenance. We'll analyze real-world performance benchmarks, examine specific hardware recommendations for different budgets, and provide decision frameworks based on your household's streaming habits, technical expertise, and future growth plans.
By the end, you'll have the technical knowledge to make an informed investment that serves your media needs for years to come.
What You'll Need
Before diving into this comparison, ensure you have the following components and knowledge to make an informed decision about your Home Media Server setup.
Hardware Requirements
- Existing network infrastructure with Gigabit Ethernet (Cat 6 cables recommended)
- Router with available Ethernet ports or managed switch
- Client devices for testing: Smart TV, streaming device, or computer
- Storage drives: At least 2TB capacity (SATA III for Mini PC, NAS-rated drives preferred)
- UPS (Uninterruptible Power Supply) - 1500VA minimum for continuous operation
Software and Accounts
- Media Server Software: Plex Media Server v1.32+ or Jellyfin v10.8+
- NAS Operating Systems: Synology DSM 7.1+, QNAP QTS 5.0+, or TrueNAS SCALE 22.12+
- Mini PC OS Options: Windows 11, Ubuntu Server 22.04 LTS, or Unraid 6.11+
- Remote Access: Dynamic DNS service account (No-IP, DuckDNS, or similar)
- Backup Solutions: Cloud storage account (Google Drive, Backblaze B2, or AWS S3)
Recommended Specifications
- Processing Power: Intel i3-12100 or AMD Ryzen 5 5600G minimum for 4K transcoding
- Memory: 8GB RAM minimum, 16GB recommended for multiple concurrent streams
- Network: Gigabit Ethernet connection with 100+ Mbps internet bandwidth
- Storage: 4-8TB total capacity with RAID 1 configuration for redundancy
Having these prerequisites will enable you to fully evaluate both NAS and Mini PC solutions effectively.
Step-by-Step Guide
- Assess Your Media Storage and Performance Requirements Start by calculating your current and projected media library size. Navigate to your existing media folders and check properties to determine total storage needs. For 4K content, plan for 25-50GB per movie, while 1080p typically requires 4-8GB per film. This assessment determines whether you need the expandability of a NAS (supporting multiple drive bays) or if a Mini PC with external storage will suffice. NAS systems excel when you need 8TB+ with redundancy, while Mini PCs work well for libraries under 4TB with simpler backup strategies. [Screenshot: Windows Properties dialog showing media folder sizes]
- Evaluate Network Infrastructure and Bandwidth Needs
Test your current network performance using built-in tools. On Windows, open Command Prompt and run:
For optimal 4K streaming, you need sustained 100+ Mbps between your server and clients. NAS devices typically offer superior network performance with dedicated Ethernet controllers and often dual-NIC configurations, while Mini PCs may share bandwidth between storage and network operations. Check your router's specifications in the admin panel (usually 192.168.1.1) under Status > LAN to confirm Gigabit Ethernet support. This step prevents bottlenecks that could force you into an expensive hardware upgrade later.iperf3 -c [target_IP] -t 30 -i 5 - Configure RAID and Storage Strategy
For NAS setup, access the storage manager through the web interface. Navigate to Storage Manager > Storage Pool > Create, then select your RAID configuration:
[Screenshot: Synology RAID configuration screen with RAID 5 selected] Mini PC users should configure Windows Storage Spaces via Settings > System > Storage > Manage Storage Spaces, or set up external RAID enclosures. The key difference: NAS RAID is hardware-accelerated and survives OS failures, while Mini PC software RAID depends on the operating system remaining stable. This choice impacts your recovery options during system failures – NAS RAID arrays can often be moved between compatible devices, while Mini PC storage may require identical hardware for recovery.RAID 1: 50% usable capacity, 1-drive failure tolerance RAID 5: 75% usable capacity, 1-drive failure tolerance RAID 6: 66% usable capacity, 2-drive failure tolerance - Install and Configure Media Server Software
For NAS devices, install Plex through Package Center > Multimedia > Plex Media Server. The installation path will be:
On Mini PCs, download Plex from plex.tv and install to a dedicated drive location:/volume1/@appstore/PlexMediaServer/
Configure the media library locations through Settings > Libraries > Add Library. Point to your organized media folders using UNC paths for network storage:C:\Program Files\Plex\Plex Media Server\
[Screenshot: Plex library setup screen with folder selection dialog] NAS installations benefit from dedicated transcoding hardware and lower power consumption during 24/7 operation, while Mini PCs offer more flexibility for custom configurations and third-party plugins.\\NAS-IP\media\movies \\NAS-IP\media\tv-shows - Optimize Transcoding and Hardware Acceleration
Enable hardware transcoding in Plex Settings > Transcoder > Use hardware acceleration when available. For Intel-based systems, verify Quick Sync Video support:
Check available codecs in Plex Settings > Transcoder > Show Advanced to confirm H.264 and HEVC support. Modern Mini PCs typically offer superior transcoding performance with dedicated GPUs, while NAS devices rely on integrated solutions that may struggle with multiple 4K streams. Monitor transcoding performance through Plex Dashboard during playback to ensure smooth operation across your expected concurrent stream count.Settings > Transcoder > Advanced > Use hardware-accelerated video encoding - Set Up Secure Remote Access with VPN
Configure secure remote access using Get ProtonVPN with WireGuard protocol for optimal performance. Install the ProtonVPN client and configure the kill switch to prevent IP leaks.
Create a WireGuard configuration file from your ProtonVPN dashboard:
[Screenshot: ProtonVPN WireGuard configuration screen with kill switch enabled] Enable the kill switch in ProtonVPN Settings > Connection > Kill Switch > Always-on to ensure your media server traffic remains protected even during VPN disconnections. This prevents your real IP from being exposed during remote streaming sessions.[Interface] PrivateKey = [your_private_key] Address = 10.2.0.2/32 DNS = 10.2.0.1 [Peer] PublicKey = [server_public_key] Endpoint = [server_endpoint]:51820 AllowedIPs = 0.0.0.0/0 - Configure Port Forwarding and Firewall Rules
Access your router's admin panel and navigate to Advanced > Port Forwarding. Configure the following ports for Plex:
For enhanced security, consider using non-standard external ports:Service: Plex Media Server External Port: 32400 Internal Port: 32400 Protocol: TCP Internal IP: [your_server_IP]
Configure Windows Firewall (Mini PC) or NAS firewall through Security > Firewall > Edit Rules to allow these specific ports while blocking unnecessary services. This step is crucial because default configurations often leave unnecessary ports open, creating security vulnerabilities.External Port: 9932 → Internal Port: 32400 - Implement Automated Backup and Redundancy
Configure automated backups through your system's backup solution. For Synology NAS, use Hyper Backup via Package Center > Utilities > Hyper Backup:
Mini PC users should configure Windows Backup through Settings > Update & Security > Backup, or use third-party solutions like Acronis True Image. [Screenshot: Hyper Backup task creation wizard with schedule settings] Set up email notifications for backup completion status to ensure you're immediately aware of any backup failures that could leave your media library vulnerable.Backup Type: Data backup task Destination: External USB or Cloud Storage Schedule: Daily incremental, Weekly full backup Retention: 30 daily, 24 weekly, 12 monthly - Configure User Access and Permissions
Create user accounts with appropriate permissions through your media server interface. In Plex, navigate to Settings > Users & Sharing > Invite Friend to add family members.
Configure content restrictions per user:
For NAS systems, also configure file-level permissions through Control Panel > User & Group > User to prevent unauthorized access to source media files. This dual-layer security ensures both media server access and file system access are properly controlled. [Screenshot: Plex user management screen showing content restrictions]Settings > Users > [Username] > Restrictions Content Rating: PG-13, R, etc. Library Access: Movies, TV Shows, Music - Monitor Performance and Resource Usage
Set up monitoring dashboards to track system performance. Access Resource Monitor through your NAS web interface or use Windows Performance Monitor on Mini PCs.
Key metrics to monitor:
Configure email alerts for critical thresholds through System > Notification > Email to proactively address performance issues before they impact user experience. [Screenshot: Resource Monitor showing CPU, RAM, and network usage graphs]CPU Usage: Should stay below 70% during transcoding RAM Usage: Monitor for memory leaks in media software Network I/O: Track bandwidth usage during peak hours Storage I/O: Watch for bottlenecks during library scans - Common Mistakes to Avoid
When choosing between a NAS and Mini PC for your home media server, several common pitfalls can lead to poor performance, wasted money, or security vulnerabilities.
⚠️ Warning: Underestimating storage expansion needs can force expensive upgrades within months of setup.Many users calculate their current media library size without considering future growth. A 4TB setup might seem adequate today, but 4K content and family videos quickly consume space. **Solution:** Plan for 3-5 years of growth and choose systems with expandable storage bays or USB ports for external drives.⚠️ Warning: Ignoring transcoding requirements leads to stuttering playback and frustrated family members.Users often overlook that different devices require different video formats. A Mini PC with integrated graphics might struggle with multiple 4K streams, while basic NAS units lack transcoding entirely. **Solution:** If serving multiple devices simultaneously, invest in hardware with dedicated transcoding capabilities or a powerful CPU.⚠️ Warning: Skipping RAID configuration puts your entire media collection at risk of permanent loss.Many assume their media server won't fail, leaving terabytes of content vulnerable. **Solution:** Implement RAID 1 (mirroring) for critical content or maintain regular backups to external drives or cloud storage.⚠️ Warning: Using default passwords and open ports creates security vulnerabilities that expose your entire network.Default credentials and poor network configuration can allow unauthorized access to your media and personal files. **Solution:** Change all default passwords, enable two-factor authentication, use VPN for remote access, and regularly update firmware. **Power consumption miscalculations** also plague users who don't consider 24/7 operation costs. A power-hungry Mini PC might cost $100+ annually more than an efficient NAS. Calculate yearly power costs using your local electricity rates before deciding. Finally, **choosing based solely on initial price** without considering software licensing, additional storage, or networking equipment often doubles the real cost. ## How to Verify Your Setup Once your home media server is configured, thorough verification ensures optimal performance and proper functionality. Testing both NAS and Mini PC setups requires checking multiple components from network connectivity to media streaming capabilities. **Network Performance Testing** Start by verifying network connectivity using **ipleak.net** to confirm your server's IP configuration and check for any DNS leaks that might affect streaming. Use **dnsleaktest.com** to ensure your DNS settings are properly configured, which is crucial for metadata fetching and remote access functionality. For bandwidth testing, run **speedtest.net** from your server to verify upload/download speeds match your internet plan. Your upload speed is particularly important for remote streaming capabilities. **Media Server Functionality** Test media transcoding by playing various file formats (4K, 1080p, different codecs) on different devices. Monitor CPU usage during transcoding – NAS units should stay below 80% utilization, while Mini PCs can handle higher loads more efficiently. Verify remote access by connecting from outside your network using mobile data. Successful connection confirms port forwarding and DDNS configuration.💡 Pro Tip: Use Plex's built-in "Remote Access" indicator or Jellyfin's network settings to quickly verify external connectivity status.**Expected Results and Troubleshooting** Look for consistent streaming without buffering, successful transcoding of multiple formats, and stable remote connections. If tests fail, check firewall settings, verify port forwarding rules, and ensure your media server software has proper permissions. For failed DNS tests, switch to public DNS servers (8.8.8.8, 1.1.1.1). If transcoding fails, reduce quality settings or consider hardware acceleration options available on your platform.💡 Pro Tip: Create a test playlist with various file types and resolutions to quickly verify your setup after any configuration changes.
Troubleshooting Common Issues
Media Files Won't Play or Buffer Constantly
**Problem:** Streaming stutters, fails to start, or shows "format not supported" errors. **Likely Cause:** Insufficient transcoding power or codec incompatibility. **Fix:** 1. Check your server's CPU usage during playback 2. Lower video quality settings in your media player 3. Install additional codec packs (VLC Codec Pack for Mini PCs) 4. For NAS: Enable hardware transcoding if supported by your model 5. Consider direct play instead of transcoding when possibleCannot Access Server from Other Devices
**Problem:** Media server visible on host device but not accessible from phones, tablets, or other computers. **Likely Cause:** Network configuration or firewall blocking connections. **Fix:** 1. Verify all devices are on the same network/subnet 2. Check firewall settings and create exceptions for media server ports 3. Restart your router and media server 4. Use IP address instead of device name for connection 5. Enable UPnP/DLNA in router settings if using those protocolsExternal Hard Drives Not Recognized
**Problem:** USB drives or external storage don't appear in media server. **Likely Cause:** Power limitations, incompatible file systems, or USB port issues. **Fix:** 1. Try different USB ports (USB 3.0 preferred) 2. Use powered USB hub for multiple drives 3. Reformat drive to exFAT or NTFS 4. Check drive health using disk utility tools 5. Restart media server software after connecting drivesRemote Access Stops Working
**Problem:** Can't access media server when away from home. **Likely Cause:** Dynamic IP changes or port forwarding issues. **Fix:** 1. Set up dynamic DNS service 2. Verify port forwarding rules in router 3. Check if ISP blocks incoming connections 4. Use VPN connection to home network as alternative 5. Restart router and verify external IP hasn't changedFrequently Asked Questions
Q: Can I use a NAS and Mini PC together for my home media server?
A: Yes, you can use them as complementary devices where the NAS handles storage and backup while the Mini PC runs media server software like Plex or Jellyfin. This setup provides redundancy and allows you to leverage the strengths of both devices.
Q: Which option is better for 4K streaming to multiple devices?
A: Mini PCs typically handle 4K streaming better due to more powerful CPUs and dedicated graphics capabilities. Most consumer NAS devices struggle with 4K transcoding, especially when serving multiple streams simultaneously.
Q: How much storage do I need for a home media server?
A: For most users, 2-4TB is sufficient to start, but heavy collectors may need 8TB or more. Consider that 4K movies can be 20-80GB each, while 1080p movies average 2-8GB depending on quality and compression.
Q: Do I need technical expertise to set up either option?
A: NAS devices are generally more user-friendly with web-based interfaces and pre-built apps. Mini PCs require more technical knowledge for OS installation, software configuration, and ongoing maintenance, but offer greater customization flexibility.
Q: What's the typical power consumption difference?
A: NAS devices typically consume 15-30W during operation, while Mini PCs range from 10-65W depending on hardware. Over a year, this difference can amount to $20-50 in electricity costs depending on local rates.
Building a personal media library creates a secure, private entertainment ecosystem independent of cloud services and geo-restrictions Best VPN for Torrenting: ProtonVPN
Unblocks major streaming services. Fast speeds with WireGuard protocol. Open-source apps you can trust.
Get ProtonVPN →✓ 30-day money-back guarantee ✓ Works with all torrent clients ✓ Swiss privacy
Conclusion
Choose a NAS if you prioritize data protection, energy efficiency, and ease of setup with light media streaming needs. Opt for a Mini PC if you need powerful transcoding, gaming capabilities, or want maximum customization flexibility.
For most users, a dedicated NAS provides the best balance of features, reliability, and simplicity for home media serving. However, tech enthusiasts and power users will appreciate the versatility of a Mini PC solution.
Ready to secure your media server? Check our VPN tier list for the best privacy protection options, and explore more guides for additional home networking and security topics.