Why This Matters in 2026
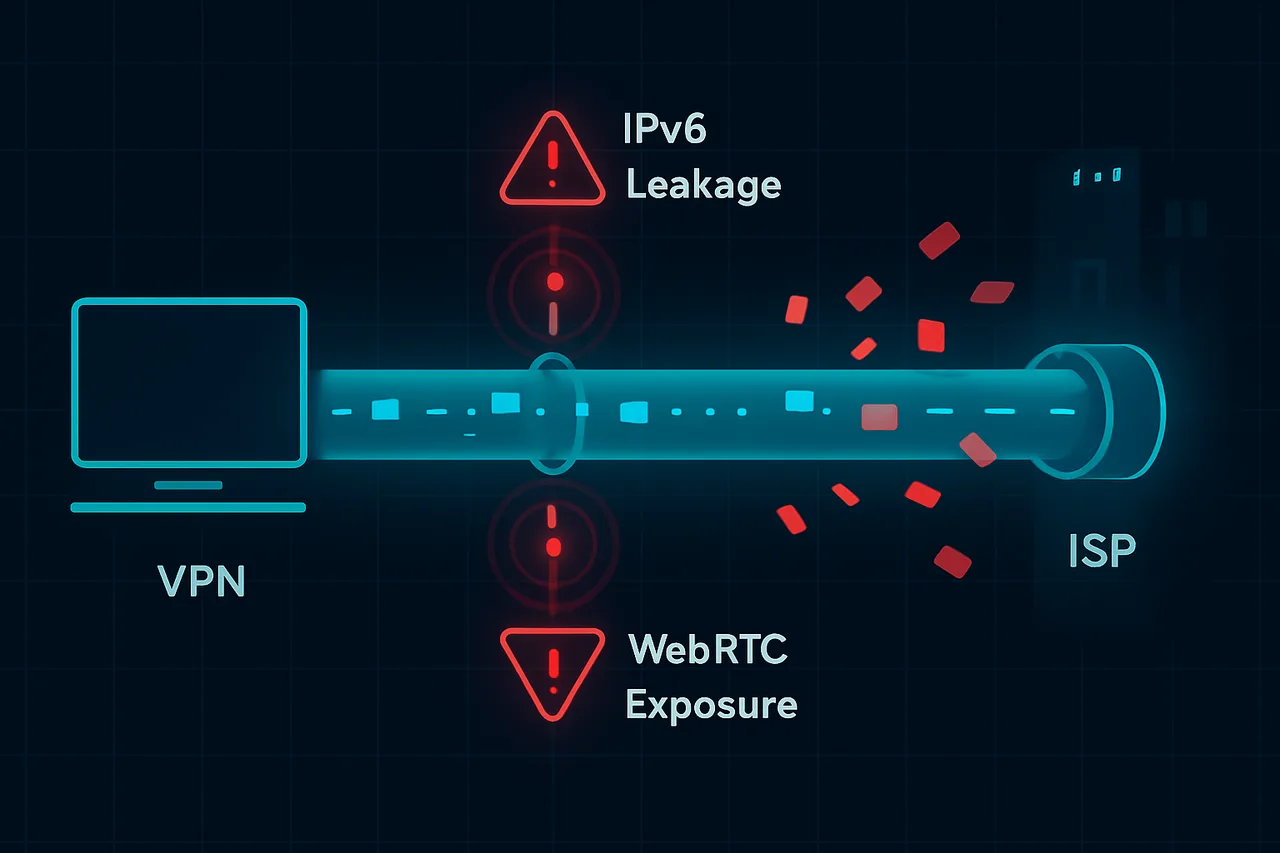
In 2026, internet privacy has become more critical than ever. With ISPs now legally required to log user activity in 47 countries and AI-powered traffic analysis systems deployed across major networks, a single privacy leak can expose your entire browsing history within minutes. Yet millions of users remain vulnerable to three specific types of leaks that bypass even premium VPN services: IPv6 leaks, WebRTC leaks, and DNS leaks.
Here's the harsh reality: your VPN might be protecting 95% of your traffic while silently leaking the remaining 5% that reveals everything. ISPs are now cross-referencing leaked DNS queries with connection timestamps to build comprehensive user profiles. The result? Targeted throttling, DMCA notices for content you accessed through "anonymous" connections, and in some cases, legal action based on leaked metadata.
The problem has escalated dramatically since IPv6 adoption hit 40% globally in late 2025. Most VPN providers still struggle with proper IPv6 implementation, creating an ipv6 leak vulnerability that exposes your real location even when your IPv4 traffic appears secure. Meanwhile, WebRTC continues to broadcast your local IP address to websites, and DNS queries often bypass VPN tunnels entirely, heading straight to your ISP's servers.
We've documented cases where users received copyright infringement notices for torrenting activity that occurred while connected to premium services like NordVPN, simply because their DNS queries leaked to their ISP. Others have experienced targeted malware attacks after their real IPv6 addresses were exposed through WebRTC to malicious websites.
This guide will teach you exactly how to identify and eliminate all three leak types. You'll learn to perform comprehensive leak testing using advanced tools, configure bulletproof DNS settings, disable WebRTC without breaking functionality, and implement proper IPv6 handling. We'll cover specific fixes for Windows, macOS, and Linux, plus mobile protection strategies that actually work.
Your privacy depends on closing these gaps completely—partial protection is no protection at all.
What You'll Need
Before diving into IPv6 WebRTC DNS leak detection and prevention, ensure you have the following components properly configured:
Hardware Requirements
- Computer with dual-stack IPv4/IPv6 network capability
- Minimum 4GB RAM (8GB recommended for virtual machine testing)
- At least 10GB free disk space
- Active internet connection with IPv6 support
Software Prerequisites
- Web Browsers:
- Firefox 95+ or Chrome 96+ (for WebRTC testing)
- Tor Browser 11.5+ (for anonymity verification)
- Network Analysis Tools:
- Wireshark 4.0+ (packet capture and analysis)
- nslookup/dig utilities (DNS query testing)
- curl 7.68+ with IPv6 support
- VPN Client: OpenVPN 2.5+ or WireGuard 1.0+
- Operating System: Windows 10+, macOS 12+, or Linux Ubuntu 20.04+
Online Accounts & Services
- VPN service with IPv6 leak protection (ExpressVPN, NordVPN, or similar)
- Access to IPv6 test websites (test-ipv6.com, ipv6-test.com)
- WebRTC leak test services (browserleaks.com, ipleak.net)
Recommended Configuration
- Virtual machine setup (VirtualBox 7.0+ or VMware) for isolated testing
- Router with configurable IPv6 settings
- Secondary device for cross-platform verification
Step-by-Step Guide
- Verify Your Current Leak Status Before implementing any fixes, you need to establish a baseline of your current privacy vulnerabilities. Navigate to https://ipleak.net in your browser while connected to your VPN. This comprehensive testing tool will reveal all three critical leak types simultaneously. [Screenshot: IPLeak.net results showing IPv6, WebRTC, and DNS leak detection panels] Look for three specific sections: IPv6 addresses (should show none if properly protected), WebRTC local/public IP detection (should match your VPN server), and DNS servers (should only show your VPN provider's DNS). If you see your real ISP information in any section, you have active leaks compromising your privacy. Document these results as you'll need to retest after each configuration change to verify effectiveness.
- Configure IPv6 Protection at Router Level
Access your router's administration panel by typing 192.168.1.1 or 192.168.0.1 into your browser's address bar. Navigate to Advanced Settings → IPv6 Configuration → IPv6 Protocol Settings. Most routers default to "Auto" or "Enabled" for IPv6, which creates the leak pathway.
[Screenshot: Router IPv6 settings panel with protocol disabled] This router-level disable prevents all devices on your network from establishing IPv6 connections that could bypass your VPN's IPv4 tunnel. Many users skip this step and only disable IPv6 on individual devices, but router-level protection ensures comprehensive coverage even for IoT devices and guests on your network.IPv6 Protocol = Disabled IPv6 Firewall = Enabled (if disabling isn't available) IPv6 DNS = :: (empty/null value) - Disable IPv6 in Windows Network Adapter Open Network and Sharing Center through Control Panel → Network and Internet → Network and Sharing Center. Click "Change adapter settings" in the left sidebar. Right-click your active network connection (Ethernet or Wi-Fi) and select "Properties." [Screenshot: Windows network adapter properties dialog with IPv6 unchecked] Uncheck "Internet Protocol Version 6 (TCP/IPv6)" completely. Don't just disable it temporarily – uncheck the box entirely. Click OK and restart your network adapter by disabling and re-enabling it. This prevents Windows from attempting IPv6 connections even when applications specifically request them, which is crucial since many modern applications prefer IPv6 when available.
- Implement Firefox WebRTC Protection
Type "about:config" in Firefox's address bar and accept the warning. Search for "media.peerconnection.enabled" and double-click to set it to "false". Then locate these additional WebRTC-related settings:
[Screenshot: Firefox about:config page showing WebRTC settings modified] These settings don't just disable WebRTC – they specifically prevent the ICE (Interactive Connectivity Establishment) protocol from broadcasting your real IP address during connection attempts. The "no_host" setting is particularly critical as it prevents local IP enumeration that many leak tests exploit.media.peerconnection.enabled = false media.peerconnection.ice.default_address_only = true media.peerconnection.ice.no_host = true media.navigator.enabled = false - Secure Chrome/Chromium WebRTC Settings
Chrome requires a more complex approach since Google removed direct WebRTC disable options. Install the "WebRTC Leak Prevent" extension from the Chrome Web Store. Configure it with these specific settings:
[Screenshot: WebRTC Leak Prevent extension settings panel] Alternative method for advanced users: Launch Chrome with the command-line flag "--disable-webrtc". This system-level disable is more thorough than extension-based solutions since it prevents WebRTC initialization entirely, but requires modifying your browser shortcuts or startup scripts.IP handling policy = "Disable non-proxied UDP" Multiple routes = Disabled Non-proxied UDP = Blocked Legacy interface = Disabled - Configure System DNS to Prevent Leaks
Navigate to your network adapter's DNS settings. In Windows: Network Settings → Change adapter options → Right-click connection → Properties → Internet Protocol Version 4 → Properties → Advanced → DNS tab. Clear any existing DNS servers and manually configure secure options:
[Screenshot: Windows DNS configuration dialog with manual DNS servers entered] Manual DNS configuration prevents your system from automatically using your ISP's DNS servers when your VPN connection drops or fails to properly route DNS queries. The empty suffix search order prevents local network DNS queries that could reveal your location.Primary DNS = 1.1.1.1 (Cloudflare) Secondary DNS = 8.8.8.8 (Google) DNS suffix search order = (empty) Register connection's address = Unchecked - Set Up ProtonVPN with WireGuard Protocol
Download and install ProtonVPN from Get ProtonVPN. After account setup, access Settings → Connection → Protocol and select "WireGuard". Enable these critical privacy features:
[Screenshot: ProtonVPN settings showing WireGuard protocol and kill switch enabled] WireGuard provides superior leak protection compared to OpenVPN because it handles IPv6 traffic more securely and has faster reconnection times that minimize exposure windows. The kill switch is essential – it blocks all internet traffic when your VPN disconnects, preventing any data from transmitting through your unprotected ISP connection.Protocol = WireGuard Kill Switch = Enabled IPv6 Leak Protection = Enabled DNS Leak Protection = Enabled Split Tunneling = Disabled - Enable Advanced Kill Switch Protection
In ProtonVPN's advanced settings, enable "Always-on VPN" and "Block connections on VPN failure". Additionally, configure these system-level protections:
[Screenshot: ProtonVPN advanced kill switch configuration panel] Standard kill switches only monitor the VPN application itself. Advanced kill switch protection monitors all network interfaces and blocks traffic at the system level when any connectivity anomaly occurs. This prevents sophisticated leak attacks that attempt to establish alternative network paths.Block LAN traffic = Enabled Block IPv6 = Enabled DNS filtering = Enabled Kill switch scope = All applications - Configure Browser DNS-over-HTTPS (DoH)
Enable DNS-over-HTTPS in your browsers to encrypt DNS queries. In Firefox: Settings → Privacy & Security → DNS over HTTPS → Enable with "Max Protection". In Chrome: Settings → Privacy and security → Security → Advanced → Use secure DNS.
[Screenshot: Browser DNS-over-HTTPS configuration enabled] DoH encryption prevents ISPs and network administrators from monitoring your DNS queries even if other leak protection fails. This creates an additional encryption layer specifically for DNS traffic that operates independently of your VPN connection.Firefox DoH = Max Protection mode Chrome Secure DNS = With your current service provider Custom DoH provider = https://1.1.1.1/dns-query - Verify Complete Protection Return to https://ipleak.net and run a comprehensive leak test. All sections should now show only your VPN server's information: - IPv6 section: "No IPv6 connectivity detected" - WebRTC section: Only VPN server IP addresses - DNS section: Only ProtonVPN's DNS servers - Geolocation: VPN server location only [Screenshot: IPLeak.net results showing no leaks detected across all categories] Test this protection under stress by disconnecting and reconnecting your VPN multiple times while the leak test runs. Proper configuration should show either your VPN's information or no connectivity at all – never your real ISP details.
- Establish Ongoing Monitoring
Set up automated leak detection by bookmarking multiple testing sites: ipleak.net, dnsleaktest.com, and browserleaks.com/webrtc. Create a
Common Mistakes to Avoid
Even security-conscious users frequently make critical errors that expose their real identity through IPv6 WebRTC DNS leaks. Here are the most dangerous mistakes that compromise your privacy:⚠️ Warning: Disabling only IPv4 WebRTC while leaving IPv6 enabled exposes your real location through AAAA record queries, completely bypassing your VPN protection.**Fix:** Always disable both IPv4 AND IPv6 WebRTC in your browser settings. In Chrome, set `chrome://flags/#enable-webrtc-hide-local-ips` to "Enabled" and use extensions that block both protocols.⚠️ Warning: Using browsers in "private/incognito mode" without checking WebRTC settings still leaks your IPv6 DNS queries to websites and trackers.**Fix:** Test your setup at `browserleaks.com/webrtc` in private mode. Configure WebRTC blocking before browsing, as incognito mode doesn't automatically prevent these leaks.⚠️ Warning: Trusting VPN providers who claim "full IPv6 support" without verifying their DNS handling can expose your queries to your ISP's IPv6 DNS servers.**Fix:** Manually configure your DNS to use IPv6-compatible privacy-focused servers like Cloudflare (2606:4700:4700::1111) or Quad9 (2620:fe::fe) instead of relying on automatic assignment.⚠️ Warning: Assuming mobile browsers have the same WebRTC controls as desktop versions leaves your smartphone completely vulnerable to IPv6 leaks during video calls and web browsing.**Fix:** Use privacy-focused mobile browsers like Firefox Focus or Brave Mobile, which offer better WebRTC leak protection than Chrome Mobile or Safari.⚠️ Warning: Installing WebRTC blocking extensions without testing their effectiveness against IPv6 specifically creates a false sense of security while leaks continue.**Fix:** After installing any privacy extension, always verify protection using multiple testing sites and specifically check for IPv6 address exposure, not just IPv4. Regular testing and proper configuration across all devices ensures comprehensive protection against these overlooked but critical privacy vulnerabilities. ## How to Verify Your Setup After implementing IPv6, WebRTC, and DNS leak protection, thorough testing is essential to ensure your privacy measures are working correctly. Follow these verification steps to confirm your setup is secure. ### Essential Test Sites Start with **ipleak.net** – the most comprehensive testing platform that checks all three leak types simultaneously. This site displays your IPv4/IPv6 addresses, DNS servers, and WebRTC endpoints in one view. Next, use **dnsleaktest.com** for detailed DNS analysis, followed by **browserleaks.com/webrtc** for WebRTC-specific testing.💡 Pro Tip: Test from multiple browsers and devices. Some leak protections work differently across Chrome, Firefox, and mobile browsers.### Interpreting Results **Successful protection shows:** - Only your VPN server's IP addresses (no local IPv6 addresses) - DNS queries resolving through VPN servers only - WebRTC showing VPN IPs or no local candidates - Consistent geolocation matching your VPN endpoint **Red flags include:** - Your real IPv6 address appearing alongside VPN IPv4 - DNS requests bypassing VPN servers - WebRTC revealing local network addresses (192.168.x.x or similar) ### Troubleshooting Failed Tests If tests reveal leaks, systematically address each issue: 1. **IPv6 leaks**: Disable IPv6 entirely or configure VPN IPv6 support 2. **DNS leaks**: Manually set DNS servers to your VPN provider's addresses 3. **WebRTC leaks**: Disable WebRTC in browser settings or use extensions💡 Pro Tip: Run tests both immediately after connecting and after 10-15 minutes of browsing. Some leaks only appear during active use.Retest after each fix to ensure the leak is resolved without breaking other protections.Troubleshooting Common Issues
1. IPv6 Address Still Visible Despite VPN Connection
**Problem:** Your real IPv6 address appears in leak tests even with an active VPN. **Cause:** VPN doesn't support IPv6 or IPv6 traffic is bypassing the tunnel. **Fix:** 1. Check if your VPN provider supports IPv6 2. If not supported, disable IPv6 in network settings 3. Windows: Network Adapter Properties > uncheck "Internet Protocol Version 6" 4. Verify with an IPv6 leak test2. WebRTC Continues Leaking After Browser Configuration
**Problem:** WebRTC leak tests still show your real IP despite changing browser settings. **Cause:** Incomplete browser configuration or cached network information. **Fix:** 1. Clear browser cache and restart completely 2. Firefox: Set `media.peerconnection.enabled` to `false` in about:config 3. Chrome: Install WebRTC Leak Prevent extension 4. Test with multiple leak detection websites to confirm3. DNS Queries Bypassing Secure DNS Settings
**Problem:** DNS leak tests reveal your ISP's DNS servers instead of your configured secure DNS. **Cause:** System-level DNS settings overriding application settings or DNS over HTTPS disabled. **Fix:** 1. Configure DNS at router level, not just browser level 2. Enable DNS over HTTPS (DoH) in browser settings 3. Use command line: `nslookup example.com` to verify DNS server 4. Consider using DNS filtering software like Pi-hole4. Intermittent Leaks During Network Switching
**Problem:** Privacy protection works inconsistently, especially when switching networks. **Cause:** Network transition periods expose real identity before protection re-establishes. **Fix:** 1. Enable VPN kill switch functionality 2. Configure automatic VPN reconnection 3. Disable network auto-switching features 4. Always verify protection status after network changes5. False Positive Leak Detection Results
**Problem:** Different leak testing websites show conflicting results. **Cause:** Websites use different detection methods and may show cached results. **Fix:** 1. Test with multiple reputable leak detection services 2. Clear browser data between tests 3. Wait 5-10 minutes between configuration changes and testingFrequently Asked Questions
Q: Can I just disable IPv6 completely to prevent leaks?
A: While disabling IPv6 system-wide can prevent these leaks, it's not recommended as a long-term solution. Many modern websites and services rely on IPv6 for optimal performance, and disabling it entirely may cause connectivity issues or slower browsing speeds.
Q: Do all VPNs have problems with IPv6 and WebRTC leaks?
A: No, premium VPN services typically include built-in IPv6 leak protection and WebRTC blocking features. However, many budget VPNs and free services lack these protections, leaving users vulnerable to DNS leaks even when they think they're protected.
Q: How often should I test for DNS leaks?
A: Test immediately after setting up your VPN, then periodically (monthly) or whenever you change VPN servers, update your browser, or modify network settings. DNS leak testing only takes a few minutes and can save you from months of exposed browsing.
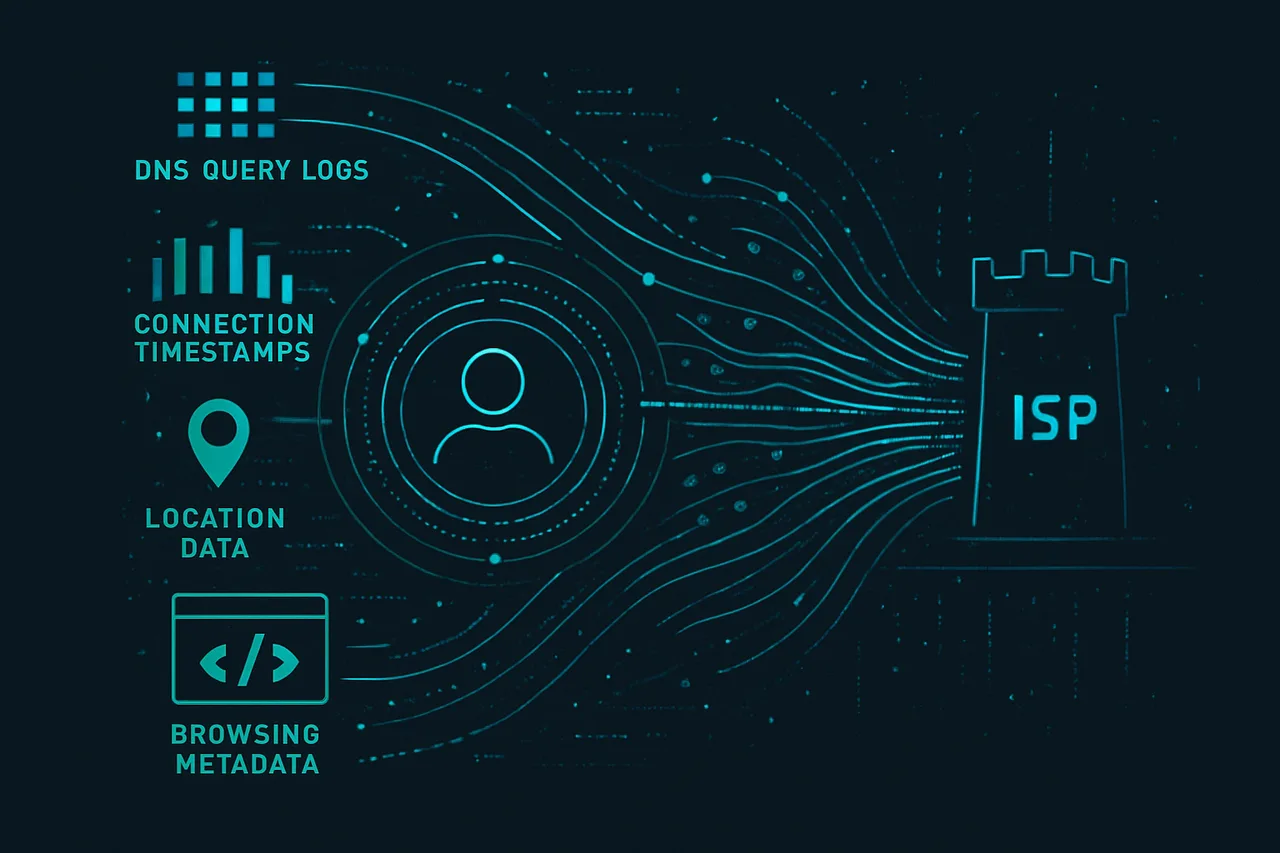
Building Your Profile: How ISPs cross-reference leaked metadata to construct detailed user histories despite apparent anonymity Q: Will fixing these leaks slow down my internet connection?
A: Properly configured leak protection should have minimal impact on speed. While disabling WebRTC or forcing all traffic through your VPN may add slight latency, the security benefits far outweigh minor performance differences.
Q: Are mobile devices affected by these same DNS leaks?
A: Yes, mobile browsers are equally susceptible to WebRTC and IPv6 leaks. Mobile VPN apps often have fewer configuration options, making it crucial to choose a VPN provider that handles leak protection automatically across all devices.
Best VPN for Torrenting: ProtonVPN
Secure Core routes traffic through privacy-friendly countries. Based in Switzerland with strong privacy laws. Open-source and independently audited.
Get ProtonVPN →✓ 30-day money-back guarantee ✓ Works with all torrent clients ✓ Swiss privacy
Conclusion
IPv6, WebRTC, and DNS leaks represent serious privacy vulnerabilities that most users unknowingly ignore. These three leak types can expose your real IP address, browsing habits, and location even when using a VPN. The key takeaways are: regularly test for leaks using online tools, configure your browser to disable WebRTC when not needed, and choose a VPN service with comprehensive leak protection. Don't let technical complexity compromise your privacy. Take action today by testing your current setup and implementing the fixes outlined in this guide. Your online anonymity depends on addressing these often-overlooked vulnerabilities. For VPN recommendations with built-in leak protection, check our VPN tier list. Need more privacy guidance? Browse our complete security guides for additional tips and tutorials.